Your Video Signal Can Travel Over the Network Too — That's What NDI Is
NDI lets video travel over your existing network cable instead of HDMI runs — and once it clicks, you'll wonder why you ever ran long cable pulls.
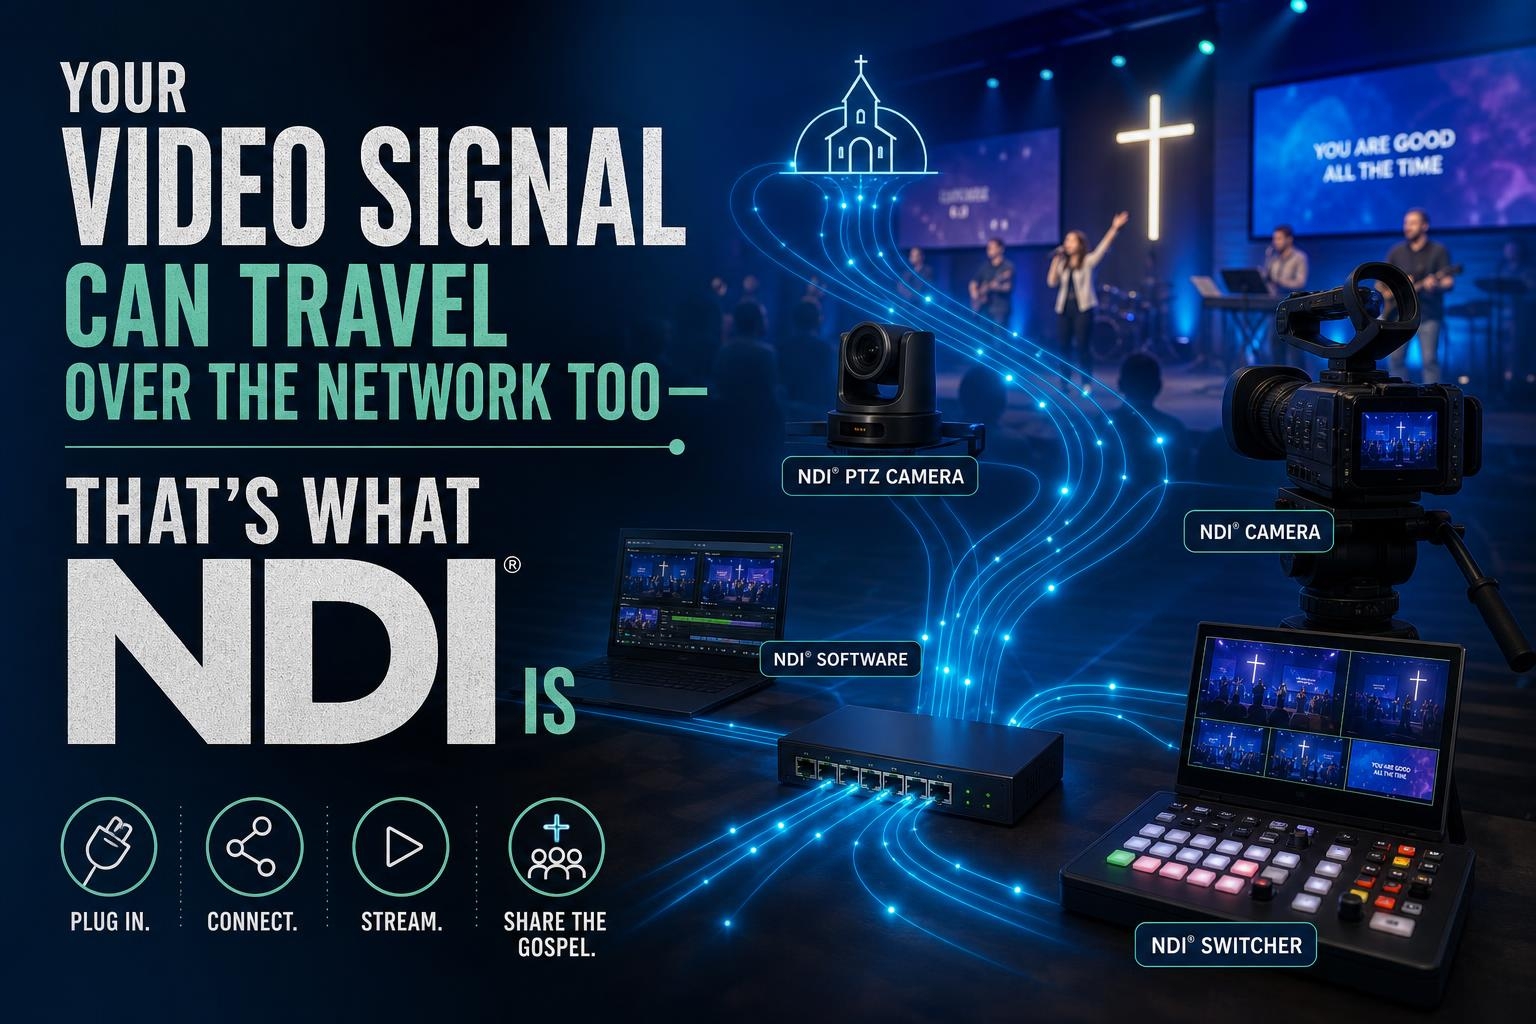
Somewhere in your church building, there’s a long HDMI cable doing something it was never really meant to do.
Maybe it’s a 50-foot run from the stage to the back of the room. Maybe it’s a signal booster duct-taped to a wall because the cable kept dropping out. Maybe it’s just a rats’ nest of adapters behind the tech booth that nobody wants to touch because it’s “working right now.”
HDMI is great for short runs. But the moment you need video to travel more than 15 or 20 feet reliably, things get expensive, fragile, and complicated fast.
NDI is a different approach entirely — and if you already wrapped your head around Dante for audio, this is going to feel very familiar.
The Analog Comparison That Makes This Click
Think about how video used to move around a broadcast facility. Coax cables. BNC connectors. Every camera, every source, every destination had its own dedicated wire running to a central router or switcher. You could trace every signal. You knew exactly where everything went.
NDI works the same way conceptually — except instead of coax, the cable is ethernet. Instead of a video router, it’s a network switch. And instead of proprietary hardware doing the routing, software handles it.
Your video signal is still traveling through a cable from point A to point B. The cable just looks different now.
NDI stands for Network Device Interface. It was developed by NewTek — the folks behind TriCaster — and it’s become a widely adopted standard for sending broadcast-quality video over a standard IP network. It’s not compressed down to nothing like a streaming codec. It’s a high-quality, low-latency signal meant for live production use.
What This Actually Looks Like in a Church
Here’s a practical example. Say you have a camera at the back of your sanctuary. Normally, you’d run an HDMI cable — or an SDI cable if you went that route — all the way from that camera to your switcher or production computer at the tech booth.
With NDI, that camera (or a small encoder box connected to it) sends its video signal over your network. Your production software — ProPresenter, vMix, OBS, Wirecast, and many others — sees that camera as a source automatically. No long cable pull. No signal boosters. Just a network cable to the nearest ethernet port.
And it works in both directions. You can send a program feed from your production computer back out to a confidence monitor, a lobby screen, or a recording device — all over the same network, all without running new cable.
That’s the part that tends to make people stop and say “wait, really?”
What You Need to Get Started
This is where NDI has a real advantage over some other networked AV technologies: the barrier to entry is low.
NDI Tools is a free download from ndi.video. It includes a handful of utilities — a video monitor, a test pattern generator, a screen capture tool, and a few others. Install it on any Windows or Mac computer and that machine can immediately send and receive NDI signals. No license fee. No dongle.
From there, most of the production software churches already use has NDI support built in or available as a free plugin. ProPresenter outputs NDI natively. OBS has an NDI plugin. vMix and Wirecast both support it out of the box.
For cameras, you have a few options. Some cameras now have NDI built in — PTZ cameras especially. For a traditional camera without NDI, you connect it to an NDI encoder — a small hardware box that takes HDMI or SDI in and puts NDI out over ethernet. These range from around $100 to several hundred dollars depending on quality and features.
The Network Conversation You’ll Need to Have
Just like Dante, NDI lives on your network — and that means your network matters.
The good news is that NDI is more forgiving than some networked AV protocols. For a small church setup with a handful of NDI sources, a decent gigabit switch and a reasonably clean network will get you a long way.
That said, a few things will save you headaches:
- Keep NDI traffic on a wired network, not Wi-Fi
- Use a gigabit switch — not the old 100Mbps one from 2009 sitting in the closet
- If you’re running several NDI streams, consider a managed switch that supports IGMP snooping to keep multicast traffic from flooding the network
- Keep NDI devices on the same subnet as the computers receiving them
You don’t need to be a network engineer. But you do need to know that throwing NDI onto a congested or poorly configured network will give you dropped frames and headaches. Start clean, start simple.
Start With One Source
The easiest way to understand NDI is to just try it. Download NDI Tools, open the NDI Monitor utility, and if you have another computer on the same network with NDI Tools installed, enable the Screen Capture sender. You’ll see that computer’s screen show up as a source in the monitor — over the network, no cable required.
That moment when it just appears? That’s the moment it clicks.
From there, think about one real problem in your current setup that a network video connection would solve. A camera that’s hard to cable to. A confidence monitor that needs a feed but has no easy cable path. A lobby screen that’s too far from the switcher. Pick one, solve it with NDI, and go from there.
Proverbs 4:7 says to get wisdom — and with all your getting, get understanding. In church tech terms: don’t just add tools, understand what they’re doing. NDI isn’t magic. It’s just video over a wire you already have.
And once you understand it, you’ll start seeing cable problems everywhere that it can solve.