Stop Guessing: Why Every Church Broadcast Setup Needs a Light Meter
If you're dialing in your stage lighting by eye, you're guessing. Here's the $200 tool that takes the guesswork out of broadcast lighting for good.
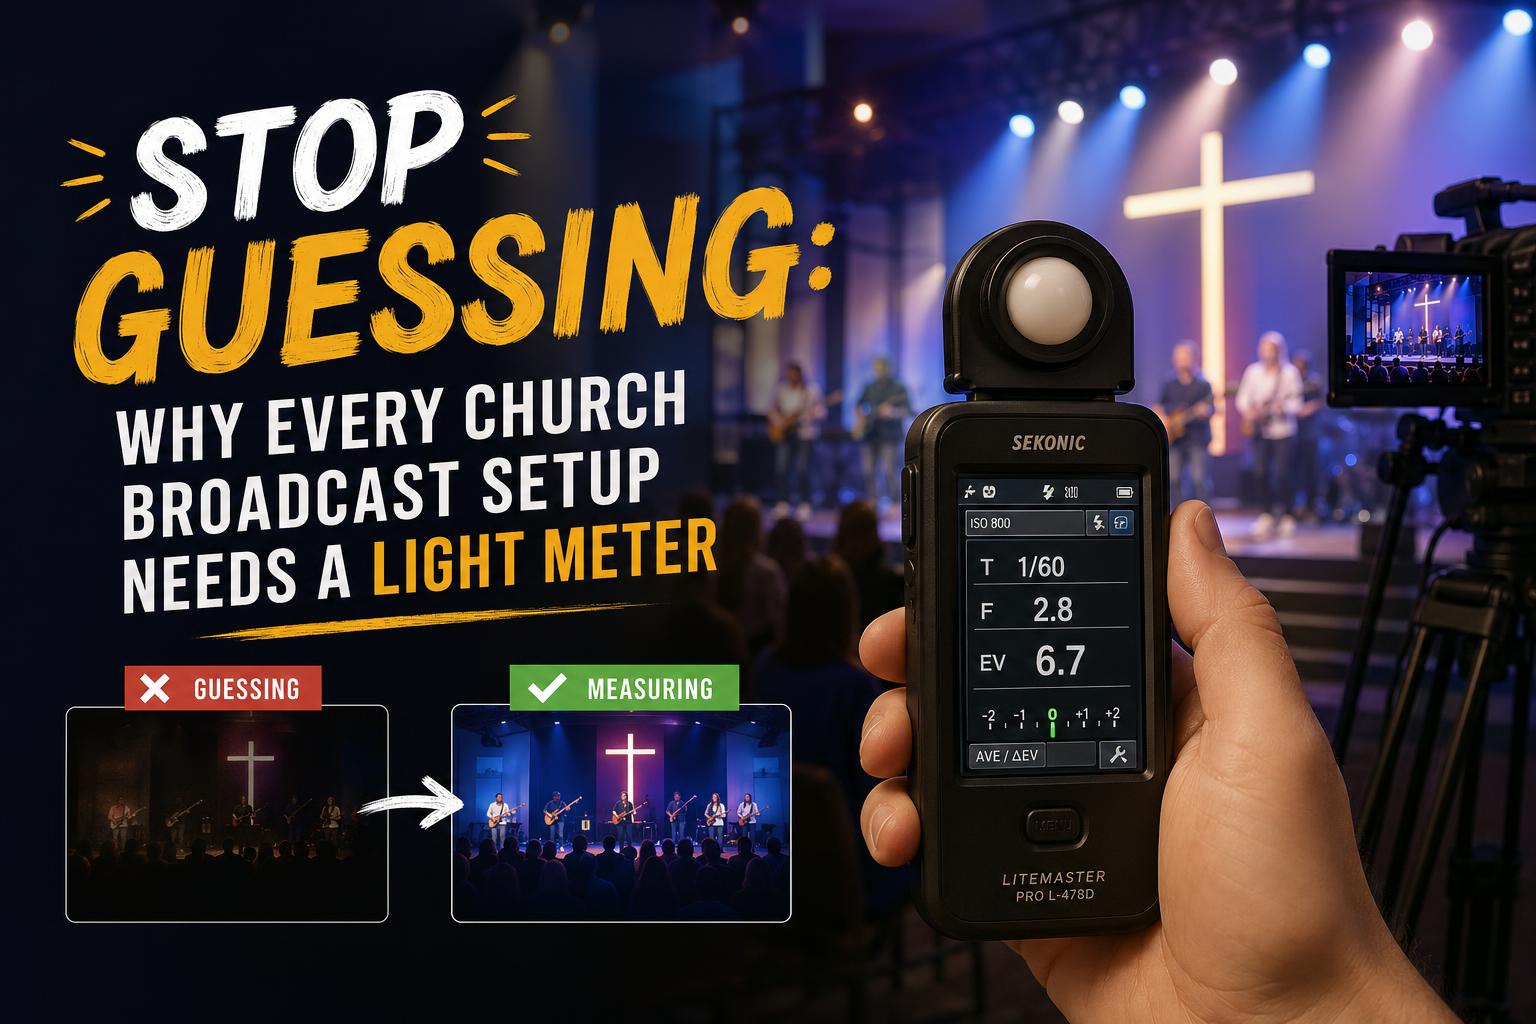
Most churches dial in their stage lighting the same way: somebody stands on the stage, somebody else squints from the back of the room, they go back and forth a few times, and eventually somebody says “yeah, that looks good.” And for the room, it usually does look good.
The camera, though? The camera is not impressed.
What looks even and balanced to your eyes can be all over the place on a sensor. One side of the stage a full stop brighter than the other. The pastor’s face blowing out when he steps to the left. A dark pocket right where the worship leader stands for most of the set. None of it is obvious to the naked eye — but the camera sees every bit of it.
The fix is a light meter. And if you don’t own one, you’re guessing.
Your Eyes Are Lying to You (Kindly)
Your eyes are remarkably good at adapting to uneven light. You walk across a stage and your pupils adjust in real time, compensating for hot spots and shadows without you ever noticing. It feels consistent because your visual system is constantly correcting for inconsistency.
A camera sensor doesn’t do that. It’s set to one exposure value, and everything that falls outside that range either blows out or goes dark. When your lighting isn’t even — and most church stages aren’t as even as people think — the camera is constantly fighting it. Auto-iris hunts up and down as subjects move. Manual exposure becomes a compromise where some positions look great and others look like a different shoot entirely.
Even light isn’t just an aesthetic preference. It’s a technical requirement for broadcast that looks professional and consistent.
What a Light Meter Actually Does
A light meter measures the actual quantity of light hitting a subject — not what it looks like, what it literally is. It gives you a number. And numbers don’t lie the way eyes do.
There are two types of metering worth knowing: incident and reflected. Reflected metering reads the light bouncing off a surface — that’s what your camera’s built-in meter does, and it’s influenced by the color and tone of whatever it’s pointed at. Incident metering reads the light actually falling on a subject, regardless of what the subject looks like. For stage lighting work, incident metering is what you want. You’re measuring the light in the space, not the light bouncing off a particular shirt or skin tone.
You don’t need to go deep on the theory. You just need to know: hold the meter at face level, point it toward the camera, take a reading. Do that at every position your pastor and worship leaders will stand. Write down the numbers. Then adjust your lights until the numbers match.
That’s the whole workflow.
The Meter I Recommend
I was first introduced to light meters by Bill — a retired Hollywood grip who volunteered at our church for a season and had a way of making complicated things feel simple. I’ve written about him before. He handed me a meter one afternoon during a lighting session and said something to the effect of “stop guessing.” He was right.
The meter I recommend for church use is the Sekonic L-308X-U Flashmate.
It runs around $200, which sounds like a lot until you consider what you’ve already spent on cameras and lights. It’s simple enough that a volunteer can learn it in about ten minutes. It handles both continuous light (your LED stage wash) and flash, so it’ll serve you well beyond just Sunday morning. And it’s accurate enough that professionals use it — you’re not buying a toy.
For a church broadcast context, it’s the right tool at the right price.
How to Use It on Your Stage
You don’t need a lighting technician to do this. Here’s the basic process:
Step one: identify your subject positions. Where does your pastor typically stand? Where does the worship leader plant during most songs? Where do your other speakers stand? Mark those spots — tape on the stage floor works fine.
Step two: meter each position. Stand at each marked spot, hold the meter at face level with the dome (the white dome on the front) pointed toward the camera position, and take a reading. Write it down.
Step three: compare the readings. You’re looking for consistency. If position A reads f/4 and position B reads f/2.8, that’s a full stop of difference — and the camera will see it. Your goal is to get every position within a third of a stop of each other if you can.
Step four: adjust your lights until the numbers match. This might mean adding a unit, trimming the intensity of a fixture, or repositioning something that’s creating a hot spot. The meter tells you what to fix. You fix it.
Step five: set your camera exposure to match. Once your light is even, set your camera’s iris to the reading you’ve dialed in across the stage. Now your exposure is locked, your subjects are consistently lit, and the camera isn’t fighting anything.
Do this once when you set up your lighting rig, and then check it periodically — especially after you’ve made changes to the stage layout or added new fixtures.
Stop Guessing
You’ve invested real money in your camera. You’ve invested real money in your lights. A $200 meter is what connects those two investments and makes sure they’re actually working together.
The difference between a broadcast that looks polished and one that looks like a church webcam is usually not the camera. It’s whether the light is controlled, consistent, and intentional. A light meter is how you get there — not by eye, not by feel, but by the numbers.
Bill taught me that. He was right then and it’s still true now.